How to Build a Garden Trellis out of Branches
Trellises, archways and arbors…oh my! The day I decided to grow up (literally), was the day my garden changed. Adding a few trellises to my landscape, instantly transformed my garden from a veggie producing patch to a wondrous new world. Aside from allowing me to live out my Secret Garden fantasy, vertical gardening also allows me to produce a lot more vegetables, flowers, and herbs without having to add in more growing space.
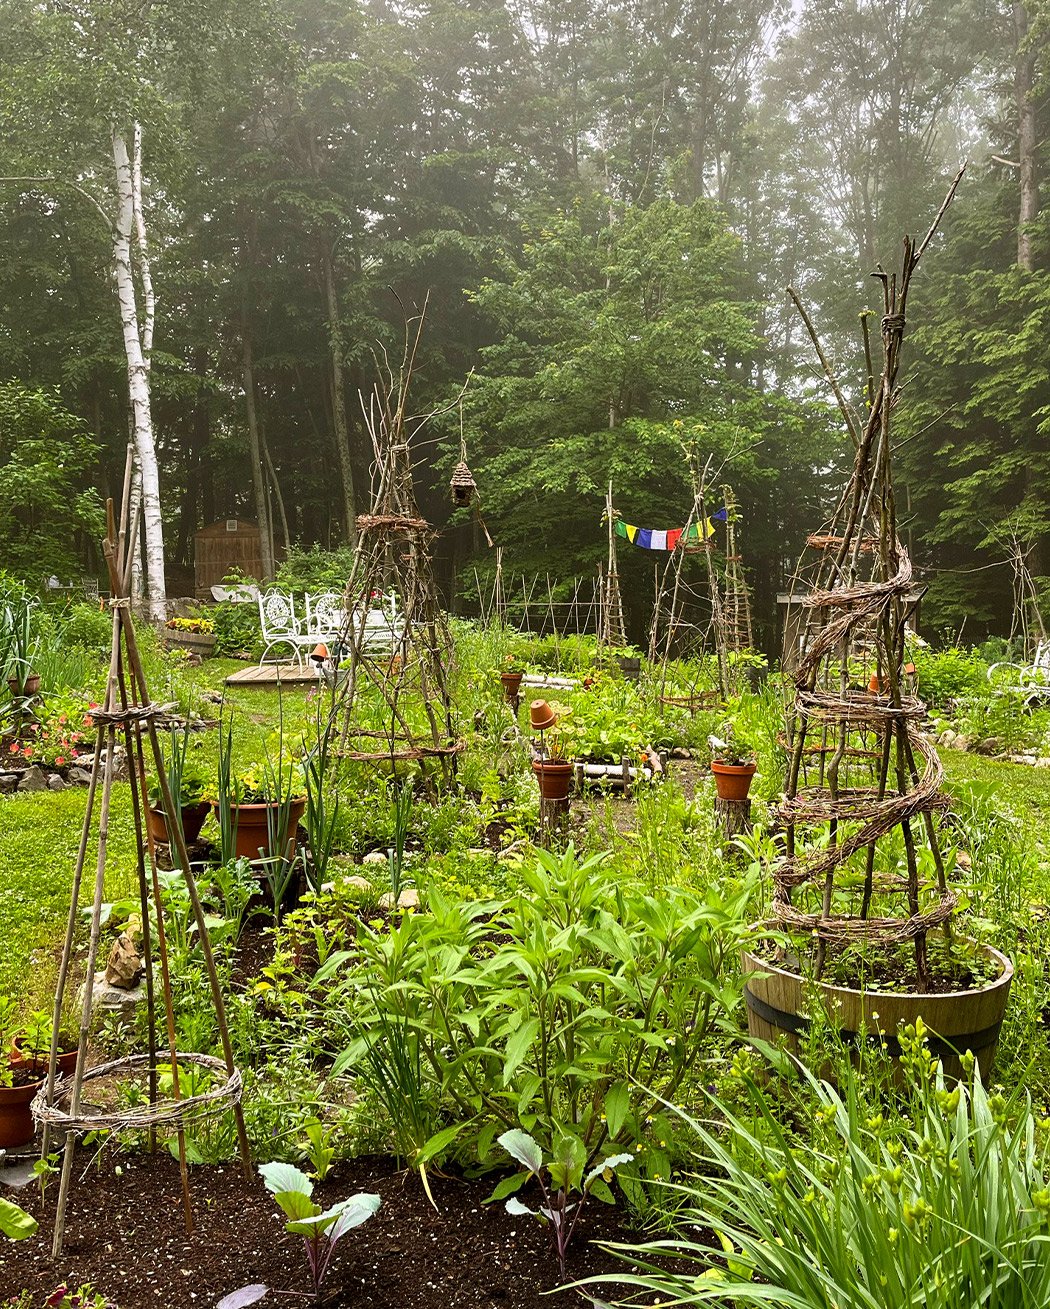
The material you choose to use for your trellises really sets the mood for your garden. I love to use branches, not only because I live in the woods and they’re plentiful, but also because they bring a storybook quality to my garden that I just relish.
I often use a combination of larger branches that have fallen over winter, along with some thinner freshly-cut green saplings. The larger branches provide the main structure, while the bendy saplings are woven all around.
I also use 6- and 8-foot-tall bamboo poles for a few smaller trellises.

When thinking about your trellis design, be mindful of the support needed for the weight of the crop that will be trellised. For example, tomatoes need a lot more support than flowering vines.
While you can build your trellises any time of the year, I like to do mine in spring, right around mud season here in Maine (that’s the time right after the snow finally melts, but the ground is still pretty wet). By erecting mine then while the ground is soft, I’m able to get a good foundation for the branches by plunging them a good foot or two deep in the ground.
As soon temperatures warm and the ground begins to dry, the soil will help “cement” the branches into place.

Lastly, be mindful of the sun and the shadow your trellis will cast. It’s best to have them on the North end of your garden so they don’t block any of those gorgeous rays.
How to make a branch trellis
You’ll need:
Thicker branches: When selecting your branch, make sure to select ones that are at least a foot longer than your desired trellis height as you’ll be submerging these by at least a foot into the ground
Thinner branches
Pruning shears
Heavy-weight jute or wire (for larger branches, you may want to drill the pieces together or use zip ties)
To make:
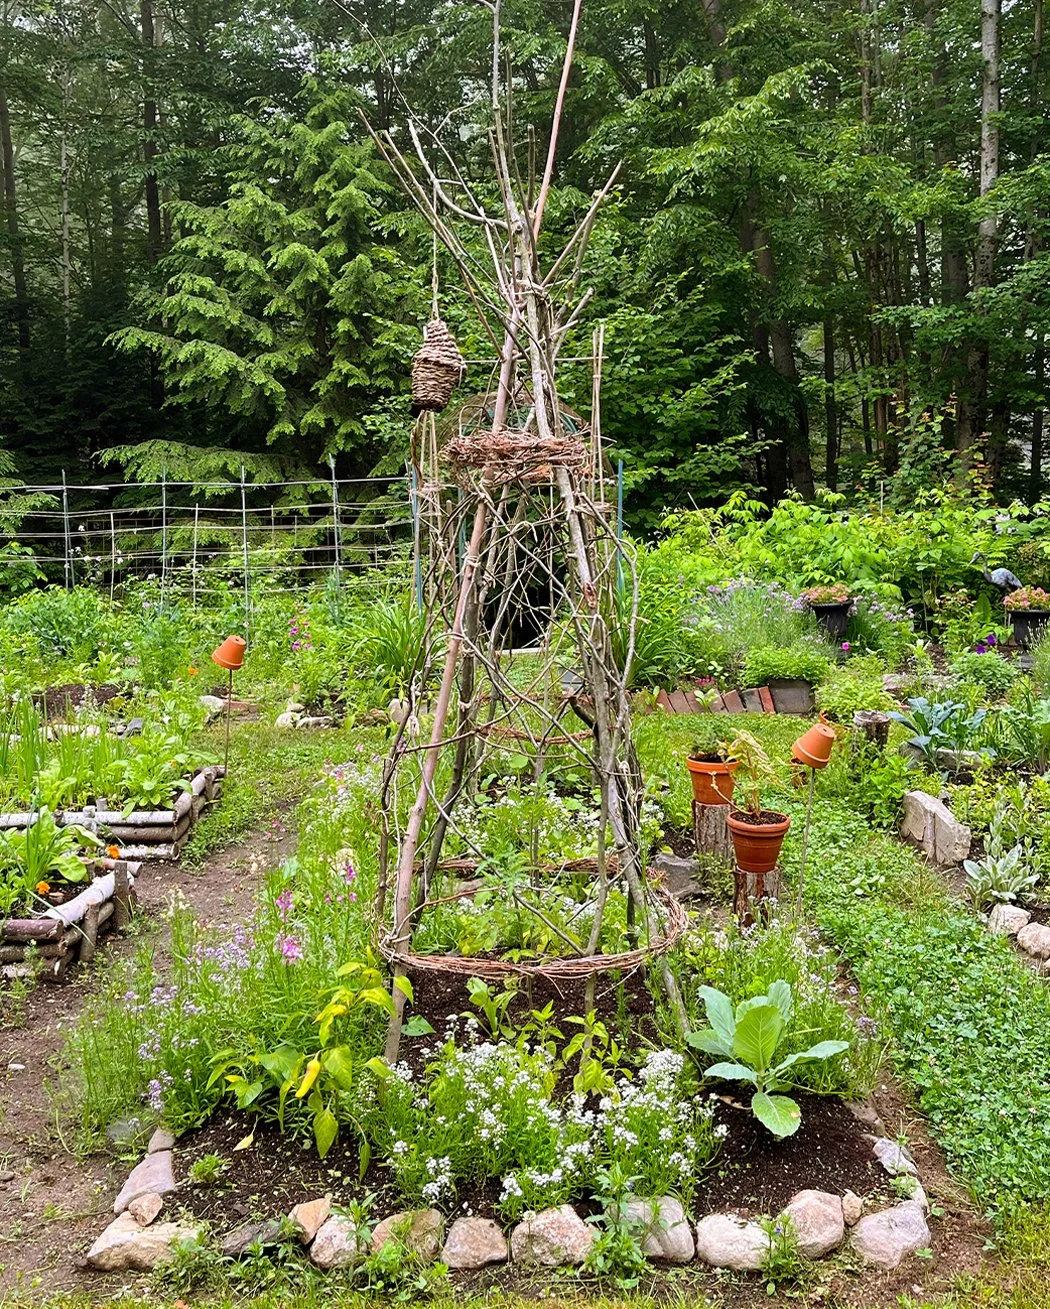
Gather the amount of branches that you’ll need. Trellises can be as simple as a trio of branches tied together, or as complex as you’d like. Mine are often made with 4-6 branches.
Prep your branches by trimming off any unwanted side branches/twigs. I like to leave some twigs jutting up on top for added whimsy, but they can be as clean cut as desired. Also nip off any leaf buds.
Cut the bottom of each branch at a sharp angle. This helps plunge it deep into the ground.
Gather your branches, positioning them as desired. Mark the spot each branch will go and dig a starting hole in each spot that a branch will be.
Plunge the branches deep into the holes, but don’t pat down to anchor in just yet.
Take the top of the branches and gently gather them into a cluster in the center. Tightly bind the group of branches together using a heavy-weight jute or wire.
Once the cluster of branches are secured, use your weight to fully lodge the poles as deep as you can into the ground, firmly packing the soil around each pole to anchor it.
Once secured, use jute and grapevines to twine around your trellises to provide extra climbing area and support.

Wildlife Garden Tip: When you’re tying up your trellises with jute, try to leave a few longer pieces hanging on the trellis. Your garden bird friends will come to collect the strands as they build their nests nearby.
Adding vertical planting areas can really maximize your garden space, so use whatever materials you have at your convenience and get growing today!